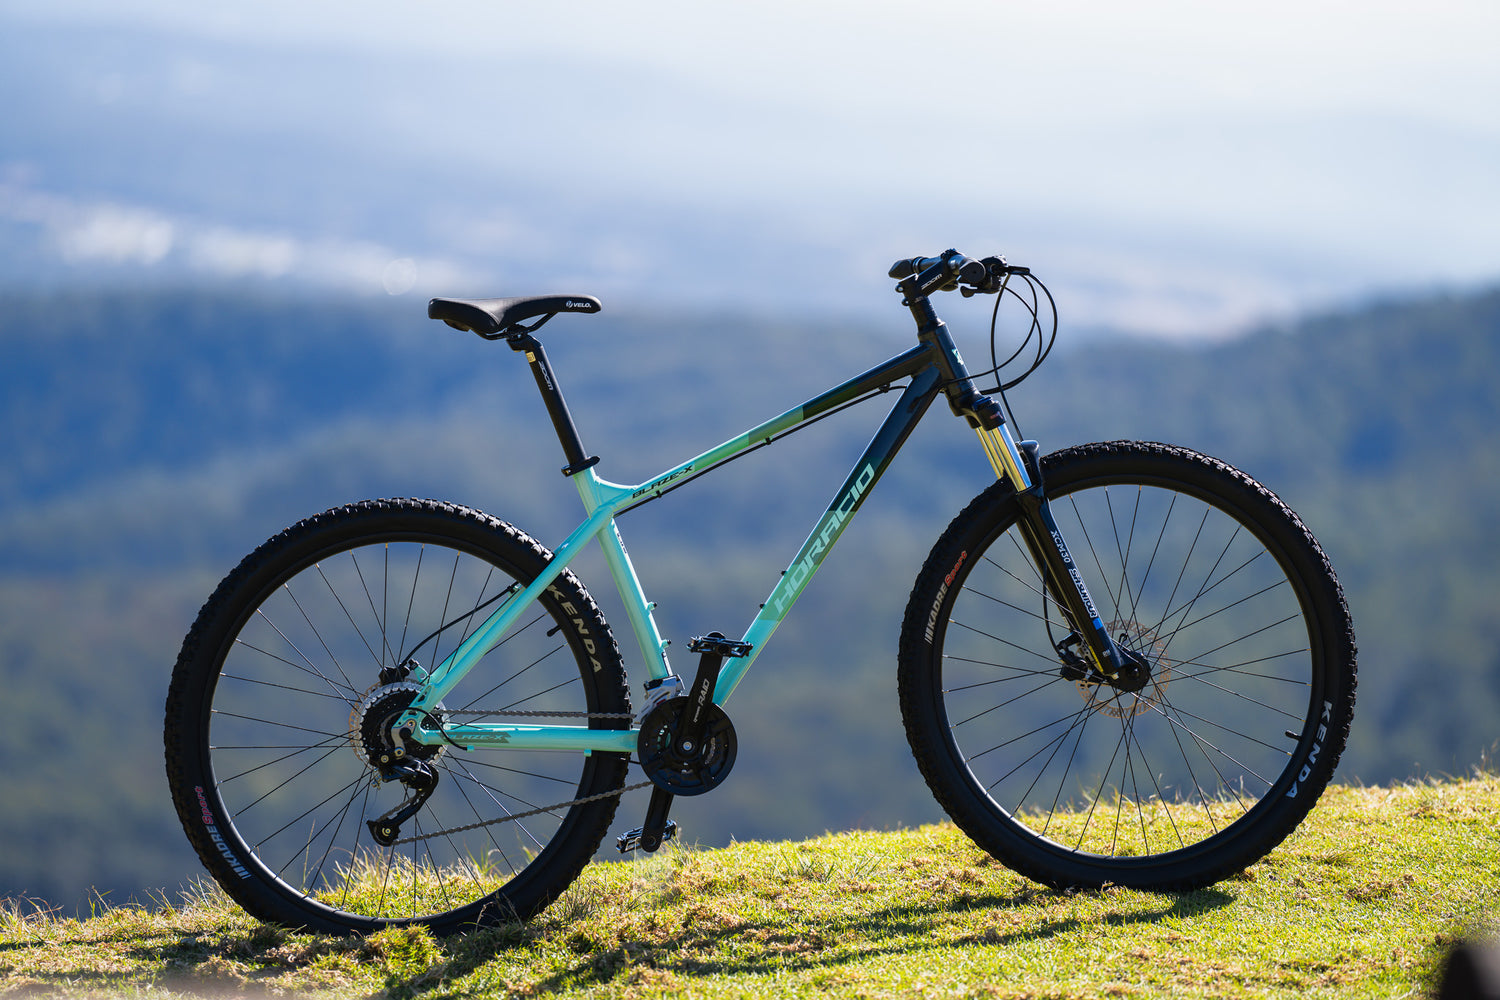


Welcome to the World of Cycling!
You've just purchased a brand-new bicycle and are ready to embark on an exciting journey. But before you start, let's talk about how to keep your new companion in top condition.
Understanding Torque Specifications for Bike Accessories: A Brand-by-Brand Guide

Introduction: In the world of cycling, precision and proper maintenance are paramount for a smooth and enjoyable ride. Many renowned brands, such as Shimano, provide dedicated torque operation guidelines for their accessories. Understanding these specifications is crucial for maintaining the integrity of your bike and ensuring optimal performance.
Brand-Specific Torque Guidelines:
Shimano: Shimano, a leader in cycling components, offers detailed torque specifications for their range of accessories. From derailleurs to cranksets, each component comes with specific torque values. Refer to the official Shimano technical documents or user manuals for accurate information.
SRAM: SRAM, another prominent brand in the cycling industry, provides torque specifications tailored to their products. Whether it's a cassette, chainring, or brake caliper, SRAM emphasizes the importance of adhering to their recommended torque values for safety and functionality.
Identify the Brand: Begin by recognizing the brand of each component on your bike. Whether it's the drivetrain, brakes, or any other part, understanding the manufacturer is crucial.
Step-by-Step Approach: To find the appropriate torque values for your bike accessories, follow these steps:
Identify the Brand: Begin by recognizing the brand of each component on your bike. Whether it's the drivetrain, brakes, or any other part, understanding the manufacturer is crucial.
Consult the Documentation: Refer to the official technical documents or user manuals provided by the brand. These documents typically include comprehensive information on torque specifications for each specific component.
Use a Torque Wrench: Invest in a quality torque wrench to ensure accurate application of torque. This tool is essential for preventing over-tightening or under-tightening, both of which can lead to performance issues or damage.
Follow Guidelines Strictly: Adhere strictly to the recommended torque values provided by the brand. This practice not only preserves the warranty but also guarantees the safety and efficiency of your bike.

The following data is provided for reference purposes only, with the hope that users can use the figures as a benchmark.
**1. Initial Check**
Before your first ride, ensure all screws are tightened, tires are properly inflated, and brakes and gears are functioning well. This not only ensures your safety but also enhances your riding experience.
- **Handlebar and Stem Bolts**:
- Handlebar clamp bolts: Typically around 4-6 Nm.
- Stem faceplate bolts: About 4-6 Nm.
- **Seatpost and Saddle**:
- Seatpost clamp bolt: Generally 5-7 Nm.
- Saddle fixing bolts: Around 5-7 Nm.
- **Crankset and Chainring**:
- Crank bolts: Typically 12-14 Nm.
- Chainring bolts: Generally 8-10 Nm.
- **Brake System**:
- Brake caliper mounting bolts: Usually 6-8 Nm.
- Brake lever clamp bolts: About 4-6 Nm.
- **Drivetrain**:
- Derailleur mounting bolts: Generally 5-7 Nm.
- Cassette lockring: Usually 8-10 Nm.
- **Wheelset**:
- Quick release skewers: Generally 5-7 Nm.
- Rim brake tightening bolts: Around 6-8 Nm.
- **Fork**:
- The torque for the quick-release lever: About 5-8 Nm.
The torque value for the screws on the front fork may vary depending on different designs and manufacturers. Generally, the torque for screws on the front fork falls within the range of 5 to 10 Newton-meters (Nm)
Using a torque wrench to ensure the correct torque is important, especially when dealing with carbon fibre or other delicate bicycle components. Always follow the manufacturer's guidance to prevent damage due to over-tightening. If unsure, it's best to have a professional mechanic make these adjustments.